
Did You Know?
Save time. Work smarter
Save time. Work smarter






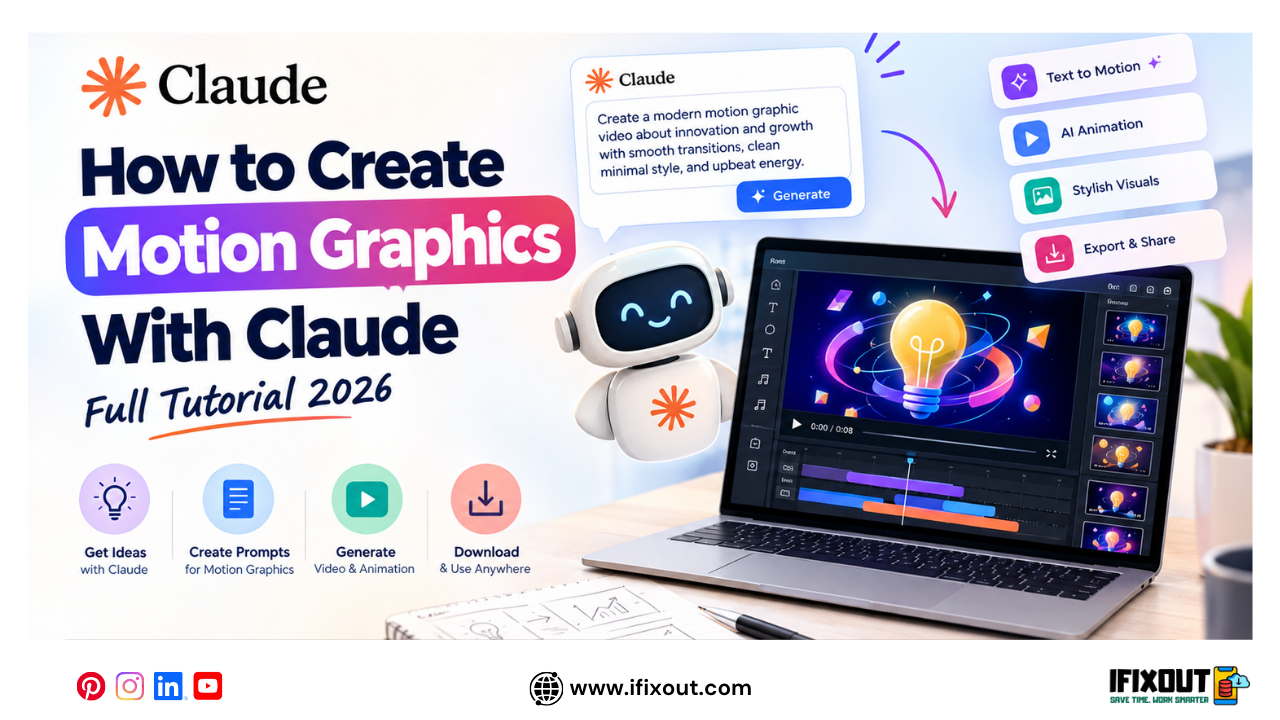
Creating professional motion graphics traditionally required tools such as After Effects, knowledge of animation principles, and often hours of manual work. But AI is changing how creators approach motion design.
With Claude Design, you can describe the animation you want using a simple text prompt and then refine the result through a conversation. Instead of building every animation element manually, you can tell Claude what to create, review the result, and request changes until you’re happy with the final version.
In this tutorial, we’ll walk through how to create motion graphics with Claude, from generating your first animation to building multi-scene sequences and exporting the final video.
Before you start, there are a few things you should know about Claude Design and its availability.
According to the workflow demonstrated in this tutorial, Claude Design requires a Pro or Max subscription and isn’t available on the free plan at the time of writing.
You can access Claude Design through the Design section of Claude or through the relevant Claude Design page.
The interface includes a prompt box where you can describe your project, along with templates for different types of creative work.
| Requirement | Details |
|---|---|
| Claude account | Required |
| Claude plan | Pro or Max, according to the tutorial |
| Design feature | Claude Design |
| Animation template | Used for motion graphics |
| Prompt | Used to describe the animation |
| Export | MP4 video |
Because AI product features and subscription availability can change, check your current Claude account for the options available to you.
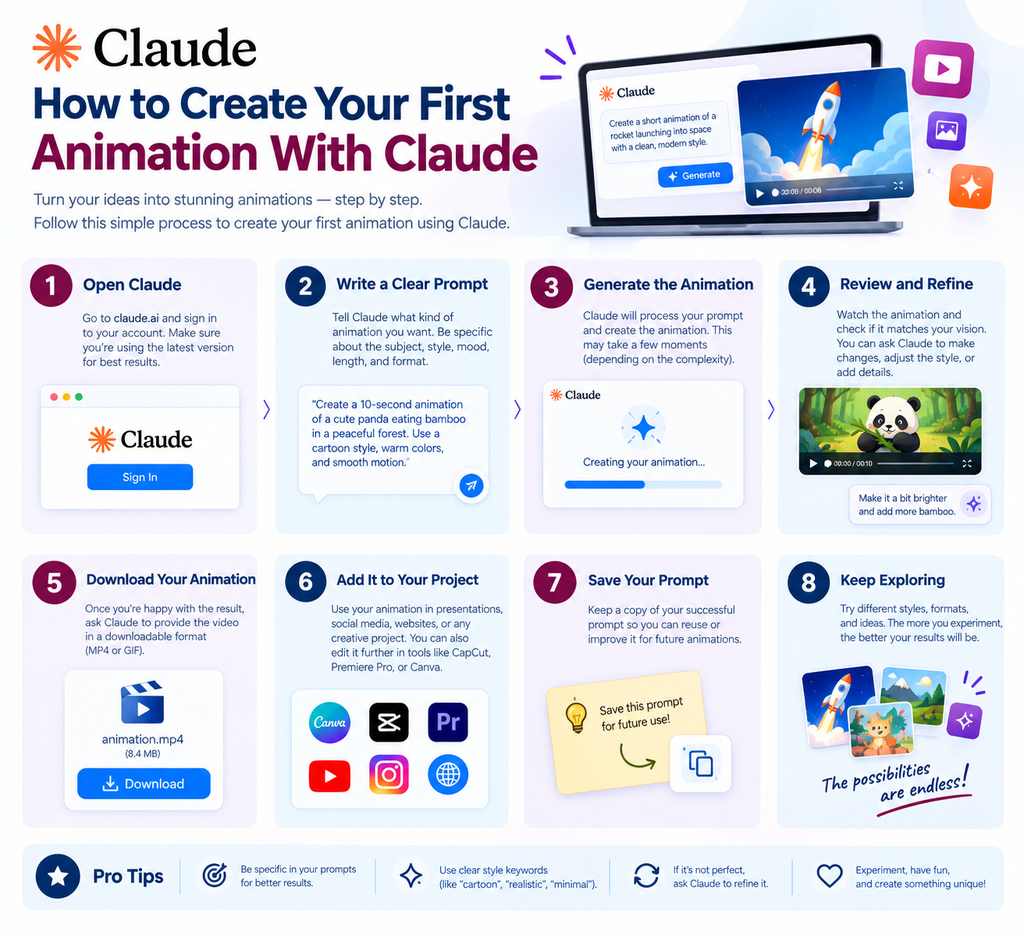
Once you have access to Claude Design, you can create your first animation using a simple prompt.
Open Claude and navigate to the Design section.
You’ll see the Design home screen with a prompt field and several templates. These templates can be used for different creative projects.
For this tutorial, select the Animation template.
After selecting the Animation template, you can customize the visual direction of your project.
For example, you might choose a modern design system if you’re creating content for a professional brand.
The design system you choose should match the style and personality of your brand.
The quality of your initial result depends heavily on how clearly you describe what you want.
Include important details such as:
For example, if you’re creating a YouTube title animation for a cafe, tell Claude the cafe name, its colors, the desired mood, and how you want the title to appear and disappear.
Choose your preferred model if the interface provides multiple model options and then generate the animation.
Claude will create the first version based on your instructions.
The first result doesn’t necessarily need to be perfect. Think of it as version one.
One of the useful aspects of an AI-based workflow is that you don’t necessarily need to recreate the animation from scratch when you want changes.
Instead, you can describe what you want to improve.
For example, you could ask Claude to make the animation feel more premium, add subtle background elements, change the depth of the text, or adjust the overall visual style.
You can continue refining the animation through multiple rounds of feedback.
| Initial Request | Possible Refinement |
|---|---|
| Clean title animation | Make the typography more premium |
| Plain background | Add subtle particles |
| Flat text | Add a soft drop shadow |
| Basic movement | Make transitions smoother |
| Simple design | Add brand-specific visual elements |
The key is to be specific about what you want changed while also explaining what should remain unchanged.
Instead of expecting the first prompt to produce the final result, use an iterative workflow.
You can generate a version, identify what feels wrong, and then ask Claude to make targeted improvements.
This makes the process feel more like working with a designer through feedback rather than creating everything in one attempt.
Once you’re comfortable creating individual animations, you can take the workflow further by creating a complete multi-scene sequence.
A multi-scene animation can work particularly well for product showcases, advertisements, introductions, and short explainer videos.
Before writing your prompt, decide what should happen in each scene.
For example:
| Scene | Content | Purpose |
|---|---|---|
| Scene 1 | Logo animation | Introduce the brand |
| Scene 2 | Product showcase | Highlight the product |
| Scene 3 | Call to action | Encourage viewers to take action |
The important thing is to maintain consistency across the entire sequence.
Instead of simply asking for a “product animation,” describe what should happen in each scene.
For example, a cafe product showcase could begin with a logo animation, move into a product reveal, and finish with a call to action.
You should also specify your preferred colors, typography, transitions, effects, and approximate duration.
Claude can then use those instructions to create a connected visual sequence.
Once you’re happy with the result, you can export the animation for use in your video projects.
Look for the Share option in the upper-right corner of the interface.
According to the workflow shown in the tutorial, you’ll find a Video option there.
Select the video option, choose the available quality setting, and select Export.
The resulting file can be used in your existing video-production workflow.
An exported animation can be useful for:
You can import the exported video into your preferred video editor and combine it with other footage, narration, music, or sound effects.
Good prompts make it easier to communicate your creative direction. Here are the prompts demonstrated in the tutorial.
Create a title animation for my brand called [YOUR BRAND NAME].

Brand colors are [COLOR 1] and [COLOR 2]. The mood should feel
[e.g., clean and modern/warm and playful/bold and energetic].

The brand name should fade in smoothly with elegant typography,
hold for a moment, then transition out cleanly.

Keep it minimal and professional, suitable as an opening title
for YouTube videos.

Duration: around 3 to 4 seconds.
Give this a more premium feel. Add a few subtle falling elements
in the background that match my cafe brand, for example small
icons or particles related to my product.

Add a soft drop shadow behind the main title text for depth.

Keep the animation smooth and make sure the additional elements
do not distract from the main text.
Here’s an example of how you can describe a complete product showcase:
Create a premium 3-scene product showcase animation for Drips & Bakes Cafe using dark brown + warm cream.

Scene 1: Logo smoothly animates in.

Scene 2: Signature Caramel Latte appears with creamy espresso,
caramel drizzle, and freshly steamed milk revealed using clean motion.

Scene 3: Show “Visit Drips & Bakes Today” with the logo.

Keep all scenes visually consistent with smooth transitions,
elegant typography, subtle effects, and a modern premium style.

Duration: 10–15 seconds.
Instead of saying “make it look good,” describe the exact style you’re looking for.
Words such as minimal, premium, modern, playful, cinematic, elegant, bold, subtle, or energetic can help communicate the intended direction.
You can also tell Claude what to avoid. For example, if you’re creating a premium brand animation, you might request subtle effects rather than excessive particles or distracting transitions.
If the first version is close to what you want, make targeted changes rather than rewriting the entire prompt.
This makes it easier to control the final result.
Creating motion graphics with Claude can simplify parts of the traditional animation workflow. Instead of manually creating every element from scratch, you can describe your idea, generate an initial animation, and refine it through conversational feedback.
For creators, marketers, and small businesses, this approach can be useful for producing branded intros, product showcases, promotional animations, and other short-form motion graphics.
The biggest advantage is the iterative workflow: prompt, generate, review, refine, and export.
Once you’ve learned how to create a simple title animation, try experimenting with multi-scene sequences to create more complete visual stories for your videos.






Leave a Comment